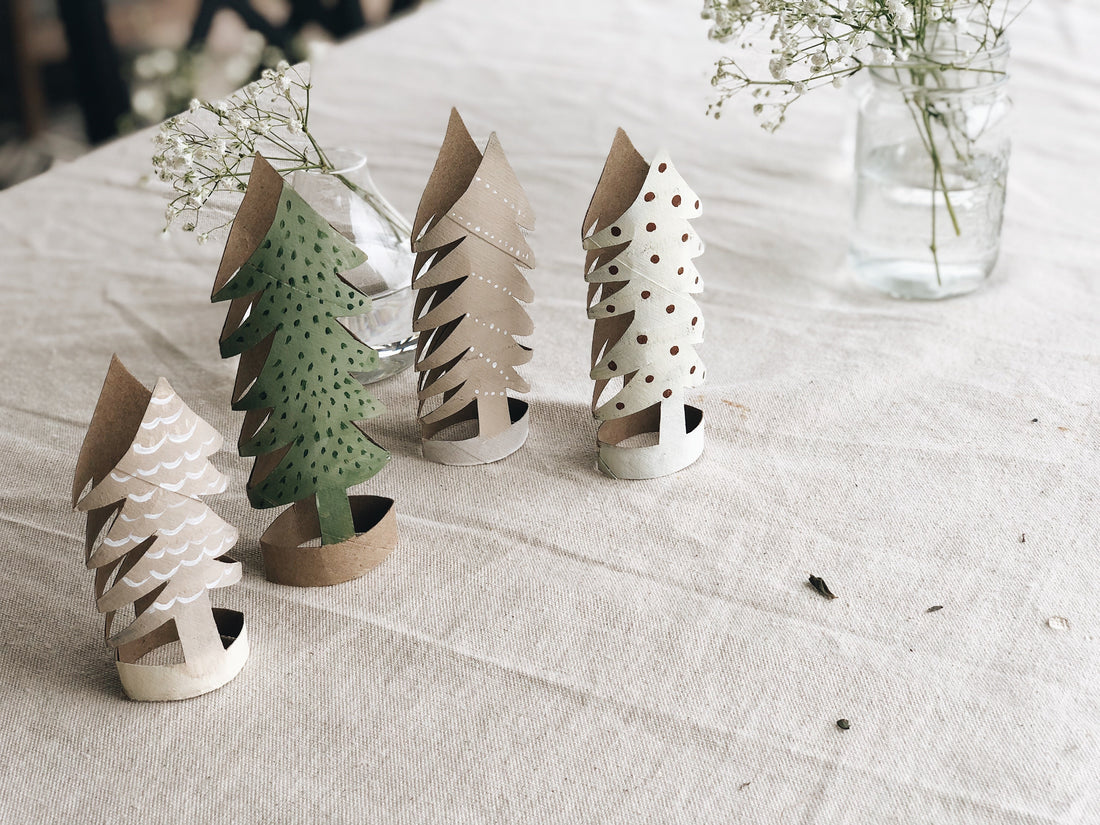
DIY | Toilet Paper Roll Christmas Tree Forest

 If you’ve got a pile of empty toilet paper rolls sitting around (or is it just my kids that hoard these for crafts?!)-- then you’ve already got the makings of the cutest little Christmas crafting project. These DIY toilet paper roll Christmas trees are one of those crafts that are simple, budget-friendly, so fun for kids (and adults), and still end up looking really cute and magical.
Around our house, this project started as a way to use up all the extra cardboard rolls my kids had gathered up, but now it’s become a Christmas tradition. The kids each make their own, we set them on the mantle, add some twinkle lights, and suddenly our living room feels cozy and festive in the easiest way!
How to Make Them:
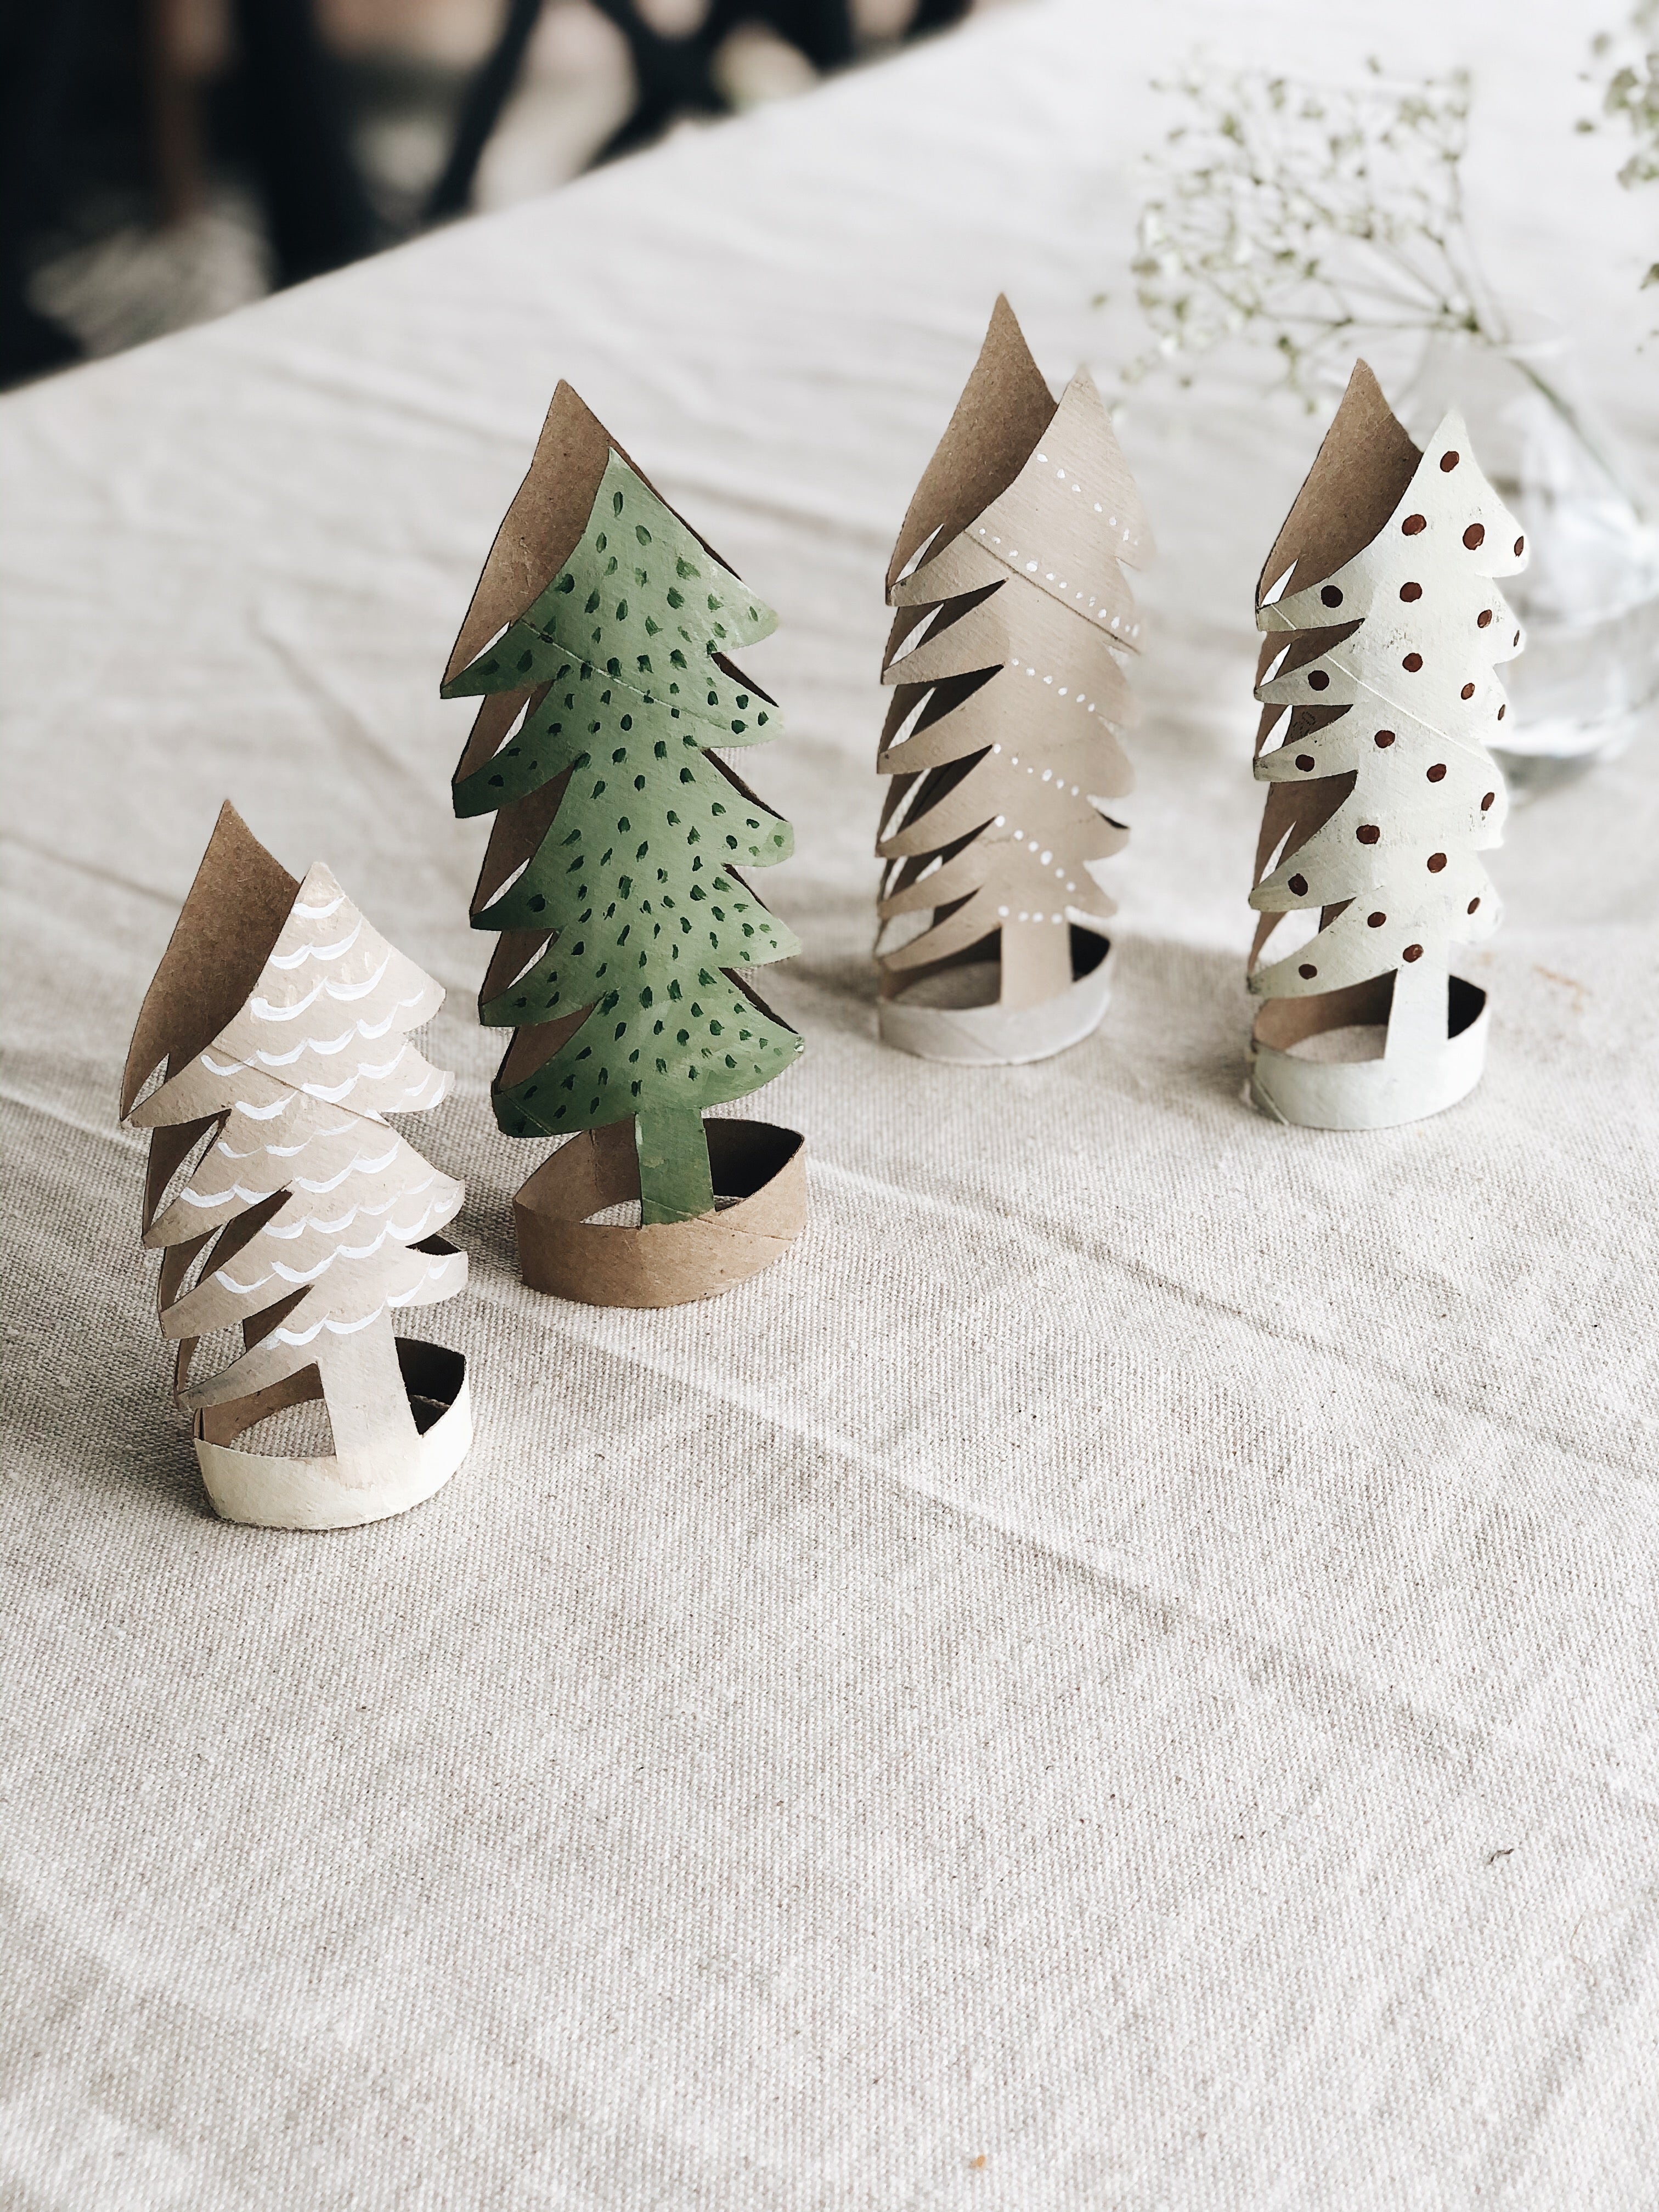
Here’s the quick version: paint your tree a favorite color, flatten the roll when its dry, sketch a tree shape, cut it out, fluff it back into shape! That’s really it. Simple enough that even little hands can help.
To make this project even easier for you I put together a free step-by-step guide below so you can download and have it on hand whenever you have the urge to pull out this craft again and again.

Why You’ll Want The Guide:
Instead of bookmarking this post or scrolling Pinterest every year trying to find it again, you can keep the guide on hand—printed or saved on your computer—for whenever you need it. Inside, I’ve pulled together:
-
A full photo tutorial that shows you each step (no guessing).
-
A complete supply list with links to grab what you don’t already have.
-
A page of paint color inspiration so your trees look pulled-together and beautiful. (I get asked about paint colors a lot so this makes it super easy!)
- I also added printable sheet of little stars and embellishments to cut out and make your trees extra festive.
And I've made it really pretty too ☺️
Basically-- it's everything you need, all in one place, so you can spend less time searching and more time creating! Just pop in your email here and I'll send it straight to your inbox now!
Grab the FREE STEP BY STEP GUIDE here:
Final Steps:
Once you’ve got your trees finished, you can really make them part of your holiday home—line them on a shelf, mix them with those little Christmassy ceramic houses, or tuck fairy lights around them for that cozy glow. I love that each kid’s version has its own personality and together they make the cutest whimsical forest.
So go ahead, pull out a few rolls, download the guide, and start creating your own Christmas tree tradition.
Trust me, you’ll be glad you have it saved for years to come.
And don’t forget to pin the photo below so you know where to find me!


26 comments
So cute!
These could easily be painted with acrylic craft paint. Using them on a Christmas wreath would be cute—just don’t put them outside. Even on a covered porch, I’d be afraid the dampness would make them a bit limp.
We had an unexpected day off of school so my 9 yo twin grandsons painted these up (I did the cutting, etc) for our Christmas centerpiece. More important than the simple centerpiece, it’ll be happy memories! Thanks for sharing your creativity!
This was such a good craft to do with my kids! Because I didn’t need to buy anything extra, I really wasn’t bothered if these didn’t look how I imagined them. Instead, I mixed paints and let my two boys paint. Once they are dry, we will break out the glitter pens to add a little bit of sparkle.
Love the toilet paper Christmas Tree. I like simple craft ideas. Something that everyone can make by utilizing what you already have in your home. I had six children and I always used things on hand. Not everyone can run out and buy things. Thank you for this idea. I may add to it by place a bottom and a few candy canes inside. Looking forward to seeing more from you!