How We Made Our Converted School Bus Cozy for Our Family of 9 | Birdie Adventures (Part 1)

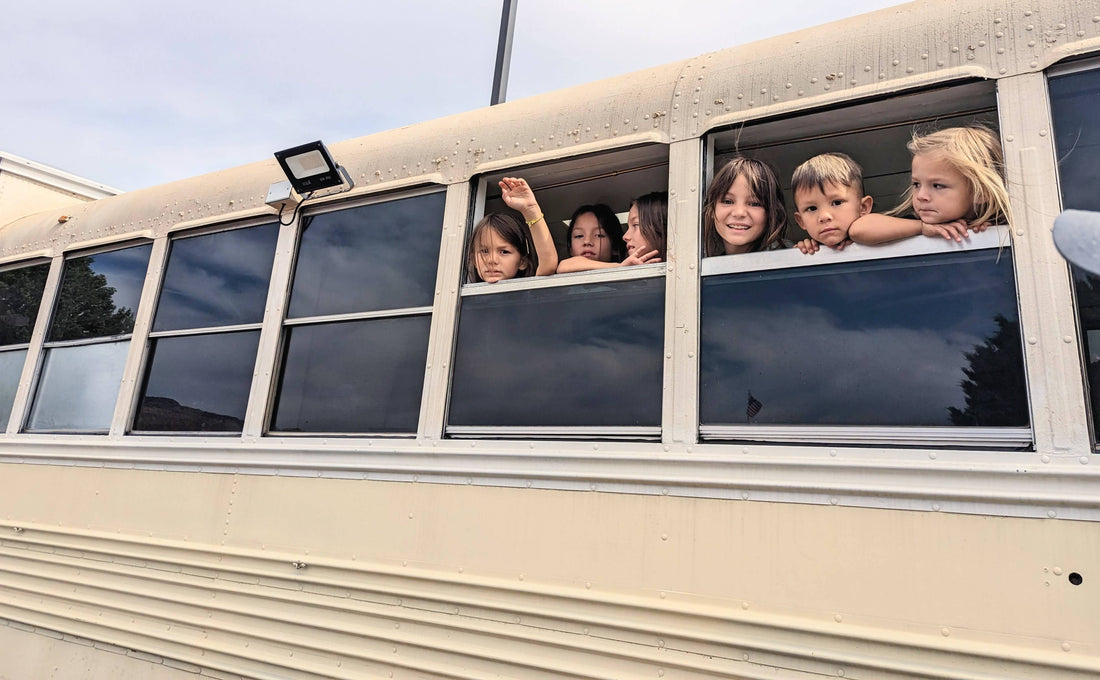
If you followed along on my Instagram last Summer then you know a bit about our first trip we made in our Birdie bus over 6 weeks. I haven’t shared much since then because I knew I wanted to take the time to soak it in and reflect on everything we did and went through to make this dream a reality before writing about it online. And then life happened and now here we are, a year later, about to hit the road again for our second big adventure!
To give a quick recap, we bought our school bus in summer of 2020 with a dream to travel with our family in it the following summer. Little did we know the challenges, ups and downs, and growth we’d go through to get to this point. You can read more about that in this post and see some of the before photos too. Fast forward 3 years (and one more baby since buying it) we took our first big trip in the Summer of 2023 across 5 states, visiting 2 national parks, camping in the woods, along beaches, and parking lots, and having an adventure of a lifetime with 7 kids 9 and under in tow.

To be honest, I still feel like I’m pinching myself that our first big trip actually happened. There is so much I could share about this adventure, so to make it helpful and intentional for you to learn from and be inspired by, I'm going to host all things about our bus travels in a series called "Birdie Adventures".
I'll share four posts coming up where I'll break down some of our frequently asked questions about how we make this work for us. Here's how it will go:
Part One: (This post) All about the updates on the design and how we finished getting our bus ready and organized 9 people living in it for the summer.
Part Two: I’ll answer some common questions we get when people are trying to figure out how the heck we manage 😀.
Part three: How we planned for our journey, all the links and resources to things we found helpful for road trips with kids and things we could or couldn’t live without.
Part four: The places we went to, would visit again, and things we’d do differently.

Ready for part one!? Here we go…
Behind the Design:
I left out on the last blog post about Birdie talking about our design plan and the inspiration boards I put together. The whole process of dreaming up the space was so fun for me to be creative with. Interior design has always been something I’ve been in love with and getting to create like this for our own family was another little dream come true. Even with all the headaches and tears it caused along the way, getting to sit in it and make memories now somehow made those terrible days pretty worth it.
Shane and I measured off, taped out a floor plan inside the bus, sketched a handful of different “blueprints”, googled and pinned for hours on end until we finally came up with the perfect layout that felt roomy and comfortable enough.
I wanted every little inch to be useful and intentional so as you can imagine, it took endless hours of planning and lots of trial and error to get it where it is today. The thing about customizing a school bus is that it’s extremely different from customizing and designing spaces inside a home. We had to think through things like awkward ceiling curves, tiny spaces to maximize, old windows that couldn’t be replaced, building couches and bunk beds over the wheel wells, all while trying to make it cozy enough for all of us to sit inside.
So here’s how we maximized our 40 foot skoolie to give us the most of what we needed and had to work with.

(parked for the night at the beach on the coast of Northern California)

Front area:
We envisioned this area to be where we’d be hanging out the most either while driving or parked. So naturally I wanted it to feel cozy and spacious as much as I could. I love how it turned out and that it doubles as places for our kids to sleep too. We also made the top of the engine cover have a comfy pad to sit on for more seating area. The driver’s seat was also recovered to match and feel more comfortable from the ugly peeling leather it was when we first bought it.
Kitchen:
We chose our kitchen cabinets and counter top from IKEA and found pieces to fit perfectly inside the small space. I love how it turned out and even though it’s tiny, it actually holds plenty for what we need. We have an RV size refrigerator that Shane found at Home Depot in the perfect vintage style look I was looking for! And we had a custom cabinet built around it to fit it securely painted in the prettiest muted green color. I chose green aroudn the fridge to give it a pop of color and wanted a color that would feel like a bit of the of the outdoors inside.


Toilet & Shower Rooms:
We split these two rooms across the hallway from each other to break up space if one needs to use the toilet while another is taking a shower (serious things to think through with 9 living in here, haha!). The shower might be the prettiest part of the bus in my opinion with the organic tile look and vintage inspired shower head. We popped off part of the roof to make a skylight inside the shower too because...well why not!?! I couldn't stop smiling when I saw it all come together.
I wanted it to still feel like a little retreat in here while camping out in the wilderness and being on the road and I'm happy to say that it sure does feel like that. We also chose to make a 2 foot wall in front of the shower so the water doesn't spill all over the floor or if we needed to just wash off feet. It also made for a tiny bath for the littlest ones that fit perfectly inside.
While the shower is the prettiest, the tiny sink next to it might be the cutest! We needed another sink to brush teeth, wash hands etc, so this too some creativity to figure out how to make this happen and when we found this tiny sink to fit just right I squealed with excitement at how cute it turned out!
Across from the shower room is where compost toilet is and where we hold all of our toiletries and bathroom things on the wall filled with shelves and small baskets. It’s not much, but I love that when we only have so much to work with it pushes us to use our creativity in better ways. It also goes to show that less is more and usually we can get by with much less than we think we need.


Bunk Beds:
We designed these with our kids getting bigger in mind. Since the bus is slightly skinnier and shorter than a big RV we had to get creative with how to fit bunk beds too. So we customized the size of these beds to be slightly smaller than an RV size beds, but still big enough to fit our growing kids. We also had a friend customize the mattresses to fit inside too and thankfully they turned out pretty comfy cozy.
Closets & Storage:
I’m probably most proud of this part and how we were able to get the most storage out of every inch we could think of. The one thing at the top of my mind when I was thinking through each part to design was STORAGE. I tried to think through every little thing on how we could utilize the space to be functional enough and also double as storage. It took a lot of creative thinking to get this done and a bit of convincing the construction guys we hired to make it work!
Unexpected places we have storage: Underneath each couch, a side cabinet next to couch for shoes, upper cabinets above the couch and kitchen area, underneath each bunk bed and main bed, small cabinets for kids clothes between bunk beds and back room, and all along the sides and above the back bedroom.
We also have some space underneath the bus for chairs and folding tables on one side while and the other side holds our water tank. Shane also had someone build a a slide out grill from one of the storage spaces underneath and besides the pretty shower, we think this is the coolest part 🙂


Back Room:
The back bedroom fits a full size bed and has plenty of storage surrounding it to fit all of our things. We even have a double storage area on the sides of the bed where Shane was able to fit 5 sets of kids golf clubs plus his own! He’s probably most proud of this area. 😄
Final Touches:
We painted the outside about 3 years ago when we first bought it in 2020. I knew from the beginning that I wanted it to look like a vintage Volkswagen so I chose the lighter colors based on some pics on Pinterest I found and loved. It needs a new paint job pretty soon so we’ll see if we give it a fresh new color or stick with this.
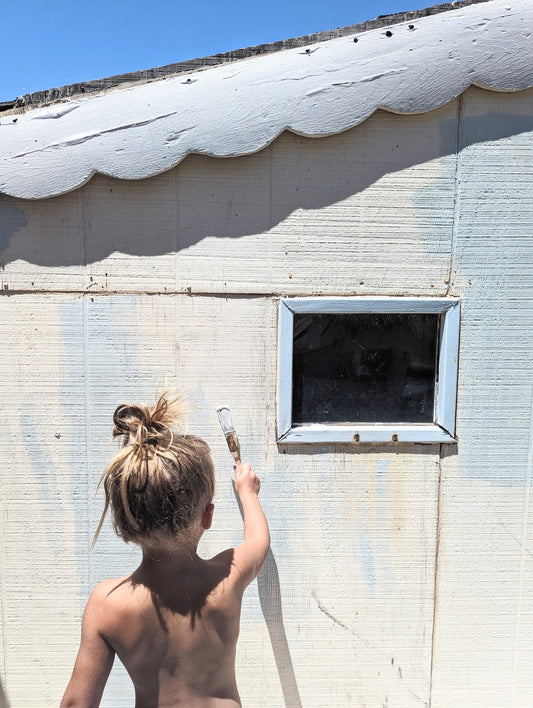
A couple days before our trip I decided to paint the name of our bus on the back (“Birdie”) and give it some leaves on the sides to represent our family of 9 and had our kids each paint them in, which made for a sweet added touch that felt like the perfect way to finish it off before we hit the road on our first trip.


There's still little things here and there I want to add and update to it as we go, like creating my own wall paper for the bathrooms! This has been a labor of love and we couldn't be more proud of and deeply grateful for how it all turned out.
In the next posts about Birdie I'll share about our travels, link for essentials we used, and where we're heading to next.
Be sure to sign up for my email list below so you get updates on when new blog posts are up and so you never miss a thing here.
Thanks for being here and following along, friend. I'd love to hear from you too. Leave a comment below and tell me what you think of Birdie!
with love and creativity,
Coley


