DIY | How to Make Toilet Paper Roll Easter Bunnies

The ideas just keep coming guys! When you’ve lived through a pandemic and haven’t left the house in a year I guess it leaves you having to be really creative with your time and resources, am I right!? I can already hear my kids 10 years from now reminiscing about growing up through Covid days and how the biggest thing that came out of it for them was the amount of toilet paper roll projects we came up with! Haha!
__
All kidding aside, these projects sure have made some really fun memories for us. Just this weekend they used the rest of the rolls we had left and turned them into different farm animals all on their own-- I was pretty impressed with their creativity... and very pleased with how long it kept them entertained.
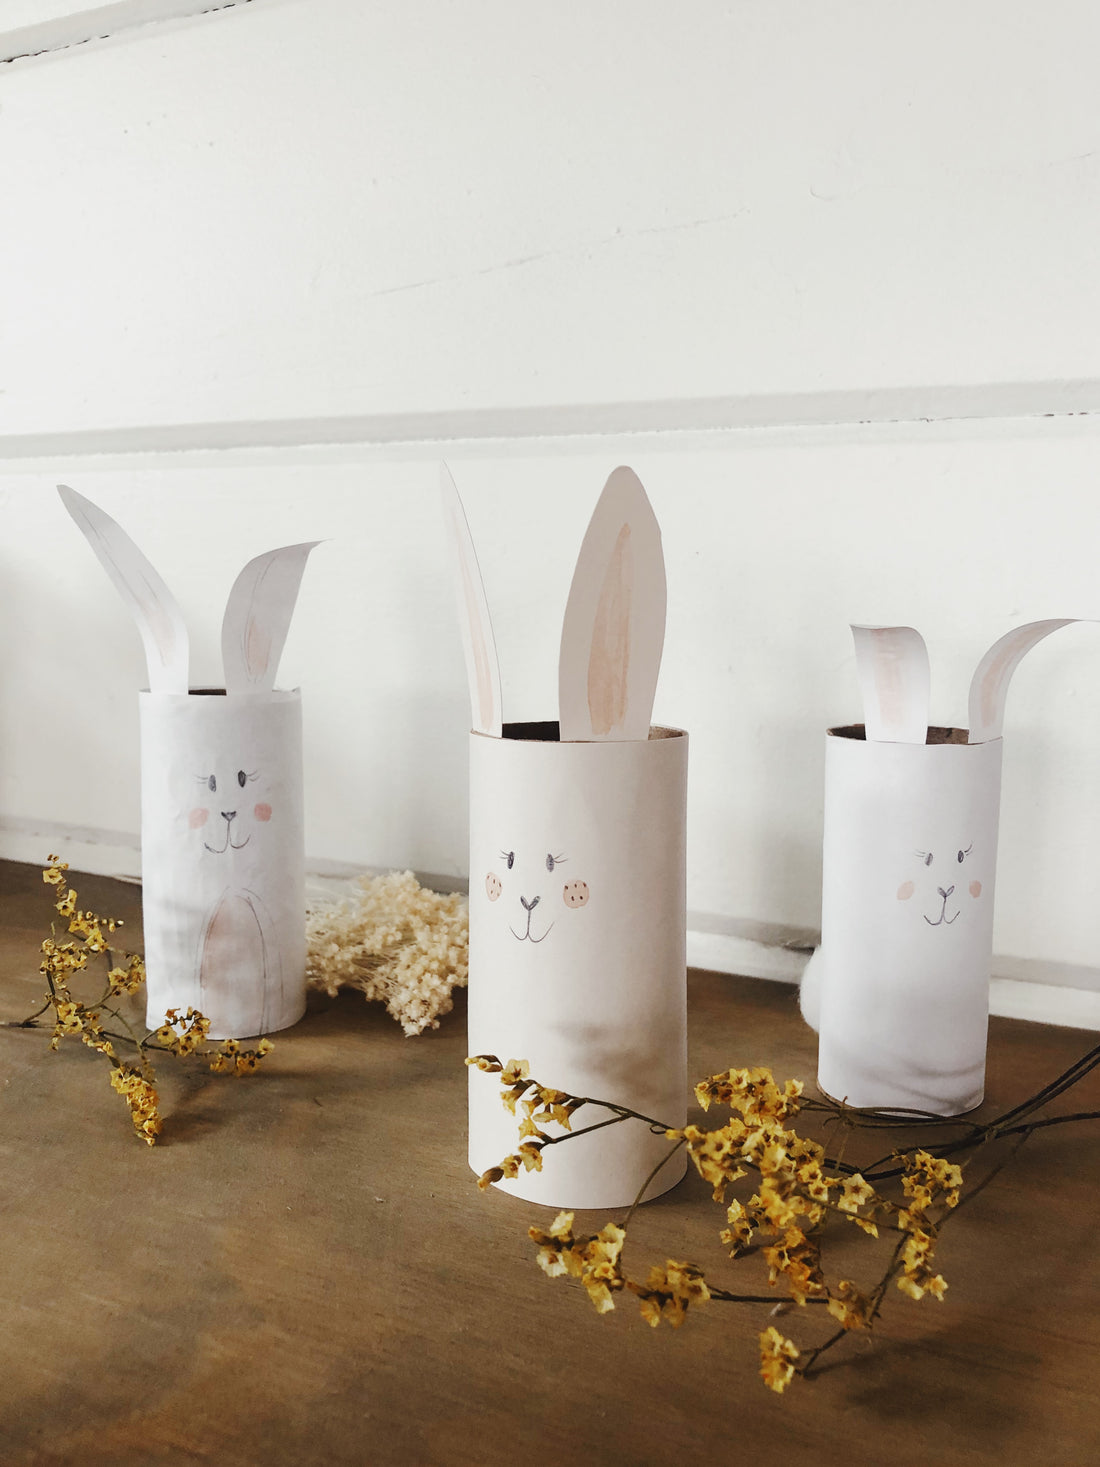
So here’s our next DIY we made together to share with you. Another fun and simple activity for Easter and how to make these sweet little bunnies for playing with or displaying around the home.
__

Supplies:
-All the toilet paper rolls and paper towel rolls you can scrounge around the house
-white printer paper or card stock. Or any other colors you'd like to make them
-glue sticks (I recommend sticks over bottles so the paper doesn't get bumpy)
-colored pencils and/or watercolor for drawing on the faces
-scissors
-Cotton balls
__
Step one: Take your roll and measure the height of it onto your paper.
To make it even easier for you I created a FREE TEMPLATE of bunny faces and ears for you so you don't have to draw them yourself. CLICK HERE to have it sent to your inbox!
__
Step two: Cut the strip of paper and roll the paper around the tube to measure the length all the way around. Once it's measured, cut off the extra paper.
__
Step three: Use your glue stick to cover the whole piece of paper on one side.
_
Step four: Start with one end of the paper and rub it onto the roll and smooth it out as you go. As you wrap the paper around the roll press and rub to make sure there aren’t any air bubbles or bumps that come up.
_
Step Four: Cut out two shapes for bunny ears. *Tip: no ears are the same so have fun with these and make it something unique and different for each bunny
_
Step Five: Glue your ears on the inside of the roll right above where you want to draw the face of the bunny. Then glue your cotton ball onto the backside of the roll where you want the tail to go.
_
Step six: Draw your bunny’s face on. *Tip: refer to the tip in step four and have fun with it!
__


__
There you have it! A cutie bunny family for your spring table for Easter brunch or the new entertaining “toy” your little ones get to play with (or both!).
GRAB THE FREE BUNNY FACES AND EARS TEMPLATE I CREATED FOR YOU HERE
Hope you enjoyed this one. Share with me on Instagram and tag me so I can see how yours turned out too! Here's a fun reel too so you can see how I made it in "real" time ;)
__

Save this Pin to refer back to later on!
Enjoy


